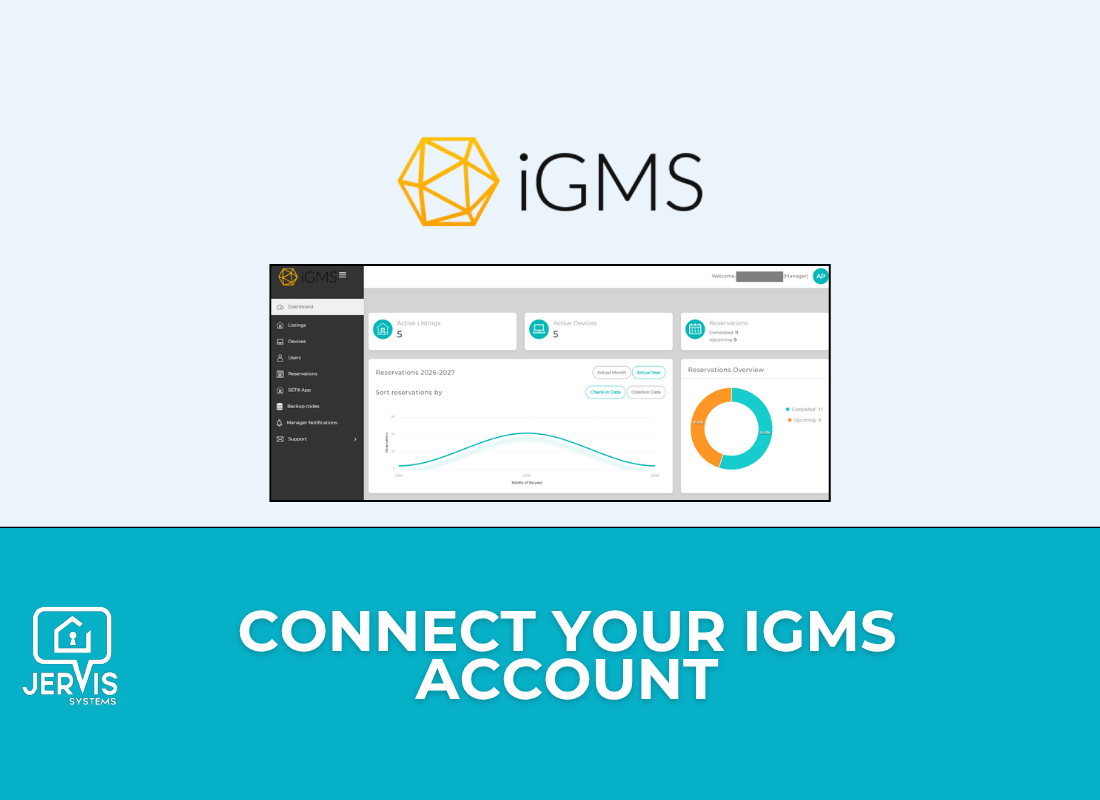
How to Connect and Set Up Your iGMS Account (White-Label)
- Before importing or managing your listings with Jervis, be sure that listings are grouped correctly, following the guide below before importing (or refreshing your listings in the future to pull in new listings).
- Our team often sees that multiple (i.e., duplicate) listings come through when the listings are not grouped properly on the iGMS side. You can follow the guide here to set up.
- Once you have your listings grouped, navigate to the Smart Devices tab on your iGMS dashboard. From there, select the option to Connect New Device, and accept the terms.

- Once you connect to the service and are subscribed, you can connect and configure settings in your Smart Device Control Panel.

- You can view all of your listings, which are automatically loaded from iGMS in the Listings tab. You can select the three dots in the Operations column to edit individual line items or select the Bulk Update button to apply settings across multiple listings.

- Select the Devices tab to connect your smart devices. Select Import Devices to select the vendor you want to import devices from.

- From there, you’ll have the option to select the specific brand to connect your devices. Follow the prompts to input the credentials and approve access. For specific brand guides, you can check out additional guides here through the Jervis FAQ.

- Once your devices are connected, assign the device to its correct listing by selecting the drop-down under Assigned Listings.

- For any device settings, use the options under the Operations menu for editing individual devices, such as setting low battery notification settings or lock schedules. For device category setups, check out our thermostat settings and hot tub/pool sensor guides.

- You can also add individuals to battery alerts on your team by selecting the email icon located under the Import Devices button.

- From the Users page, you can configure the team members who will have access to codes, devices, or other aspects of your account.

For more information on User roles and permissions, check out our guide here.

- From the Reservations page, you can see your imported reservations in a two-week window. This is so the devices are not overloaded with multiple codes at one time. You can see that a code is set up if one is displayed in the SET® PIN column. Below the PIN is the name stored on the device.

- From the SET App page, you can unlock and lock smart locks and manage other devices remotely.

- On the backup codes page, you can configure settings for codes to be stored on your devices in case of emergencies. You can edit these settings per device using the Operations menu actions. Our guide here has additional information.

- You can also use the bulk update feature for backup code settings across your devices.

- From the Manager Notifications tab, you can select the option to Edit any listing to toggle which notifications you want to receive and who on your team should receive them.

- For additional help and troubleshooting, you can submit your questions and any needed credentials through the Support Request tab.

Need additional help and support? Check out the additional user guides on our FAQ page. You can also get help by submitting a Support Request via your Jervis Systems dashboard.
RECENT POSTS
Jervis Smart Device Integration Status
March 27, 2026

Jervis Systems®: The Future of Property Automation
June 26, 2020


Top 4 Tips On Renting Your Private Property Long-Term
July 21, 2020
Categories
- Airbnb Mastery (1)
- Integrations (10)
- Jervis Systems Guides (142)
- Property Projects (1)
- Real Estate Tips (5)
- Rental Property Tips (10)
- Technology Solutions (10)