
How to Import & Refresh Listings in Jervis Systems®
This article will quickly walk you through the steps of properly importing and refreshing your listings from inside your Jervis Systems® account dashboard.
- First, make sure you’re connected to your property management system (PMS) in the Marketplace. Since each platform is a little different in the connection process, we have step-by-step user guides for each platform on our FAQ page.
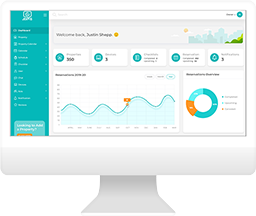
- Once your PMS and Jervis Systems accounts are connected, go to the Listings page within your Jervis Systems account and click Refresh Listings. When the page has been reloaded, you can see your imported listings. Select the three dots under Operations to view and edit listings as needed.

Note: Anytime you add a new listing to your property mangement system, Jervis Systems will not automatically import it. In order to import your listing for upcoming reservations to register in our system, you will need to click on the Refresh Properties button. This will pull in new listings that are set up on the PMS side.

- From here, you also have the option to edit your listings to add an offset capability that allows Jervis Systems to configure automated keyless access for early check-in and late check-out. If you have the same offset capabilities across all listings, you can use the bulk offset tool to apply these settings across your entire portfolio.

Now, you have your listings set up in Jervis Systems, and the basics of account setup covered. You can check out additional guides here.
If you need additional support, you can always reach our team by sending a Support Request from your Jervis Systems dashboard.
RECENT POSTS
Jervis Smart Device Integration Status
March 27, 2026

Jervis Systems®: The Future of Property Automation
June 26, 2020



Top 4 Tips On Renting Your Private Property Long-Term
July 21, 2020
Categories
- Airbnb Mastery (1)
- Integrations (10)
- Jervis Systems Guides (142)
- Property Projects (1)
- Real Estate Tips (5)
- Rental Property Tips (10)
- Technology Solutions (10)