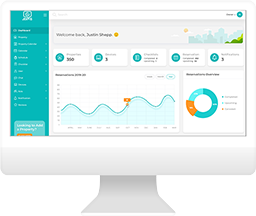

How to Set Up Default Settings in Jervis
Default settings make it easier to apply the settings you prefer when new listings, devices, or users are added to your account.
From the main taskbar, select My Profile > Default Settings to get started.

From the Listings tab, you can set offset check-in and check-out times to go in effect across your listings. For each listing you add, these settings will go into effect, and you can always edit per listing or bulk update to change settings and offsets as needed.

On the Devices tab, you can set your preferences for Guest Mode, Vacant Mode, Guardrails, pincodes, notifications, and roles across your devices. Like the listing offsets and and times, you can edit these on a per listing basis later or bulk update as needed.

From the backup codes tab, you can set your number of backup codes and the timing before check-in to assign.

Finally, you can auto-assign user roles. This means that if you have current users that are assigned to Property Manager or Cleaning roles for existing listings, they will be designated to that same role for new listings are added.

For all settings, be sure to save your selections before moving on to the next tab.
Questions? Send our team a Support Request from your account or check out our FAQ page for more help guides.
RECENT POSTS
Jervis Smart Device Integration Status
March 27, 2026

Jervis Systems®: The Future of Property Automation
June 26, 2020



Top 4 Tips On Renting Your Private Property Long-Term
July 21, 2020
Categories
- Airbnb Mastery (1)
- Integrations (10)
- Jervis Systems Guides (142)
- Property Projects (1)
- Real Estate Tips (5)
- Rental Property Tips (10)
- Technology Solutions (10)