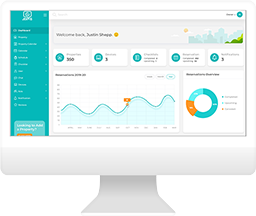
Jervis Systems: Quick Start Onboarding Guide
New to Jervis Systems?
We highly recommend checking out our video library from your Jervis Systems account. This gives you a full onboarding style walk-through of how to set up your listings, devices, and other key settings.
Here’s the gist of what to know to get started:
1. Connect Your Property Management System (PMS)
The Marketplace is where you can connect your property management systems (PMS). A setup guide is available for each PMS, detailing the setup process and necessary changes. Upon connecting a PMS, all listings are automatically imported.

Each platform will have its unique requirements to connect. Check out the integration guides on our FAQ page.
2. Import & Edit Your Listings
Once your PMS is connected, go to the Listings page within your Jervis Systems account and click Refresh Listings. This action will pull in all your listings in a revolving two-week window, including any new ones set up in your PMS. The Added From column indicates the source of the listing. Time zones are automatically set based on API details and can be edited individually or in bulk via the Operations menu.

Remember, Jervis Systems doesn’t automatically import new listings added to your PMS – you’ll need to use the Refresh Listings button each time you add a new property.
From here, you have the option to edit your listings to add an offset capability that allows Jervis Systems to configure automated keyless access for early check-in and late check-out.

This allows adjustments of 15 minutes, 30 minutes, 45 minutes, or a few hours for early or late requests. By default, codes are generated based on guest phone numbers, but if conflicts arise, a random PIN is used. Codes are automatically removed post-reservation, with an option to keep them for up to seven days.
If you have the same offset capabilities across all listings, you can use the bulk offset tool to apply these settings across your entire portfolio.

3. Import & Assign Your Devices
From the Devices page and connect can import various devices like locks, thermostats, and lights by selecting the brand and logging in. From there, select your smart lock or device and follow the prompts to connect your account. Additional user guides for devices are available on our FAQ.

Please note: If you are adding additional devices to an account you have previously connected, do not use these same steps to connect that device. This will result in duplicate accounts! Instead, hit the Refresh Devices button to bring in the new devices that are in your existing linked accounts. Check out our guide here.

Once your devices are imported successfully, you will want to assign your devices to your listings. You can do this by selecting the drop-down list under Assigned Devices and checking the boxes for the listings you want the device to be assigned to. After assigning your device, the status will show as enabled and active.

Jervis provides a device summary showing active, unassigned, inactive, and disabled devices.

You have the ability to configure settings for devices like thermostats or lighting. Default settings for thermostats include heat/cool modes, Guest Mode, and Vacant Mode. Automatic mode adjusts temperatures based on local climate and Guardrails limit guest temperature settings. Adjustments can be made via the operations menu.

You can also configure bulk update settings for devices that also include assigning roles and managing PIN code settings.

With smart locks specifically, Jervis will send low battery notifications when the battery drops to 30% or less. That’s our default. You’ll get daily notifications via email until you change out the batteries.
You can change the settings on the lock if you want to be notified at a different time. You can do this per device by going to the specific device, select Operations > Set Low Battery Notification. Change the low battery notification to 20%, 10%, or 40%, or whichever you prefer.

You can also change this via bulk editing. By going to bulk edit, go to Others > Low Battery Notification and make the change here as well.
4. Import Your Reservations
You can immediately import your reservations from the Reservations tab and view the SET® PIN code generated. Reservations are processed in a two-week rolling window. Reservations are not imported until devices are assigned. You can manually refresh to check for new reservations or wait for automatic notifications.
Editing reservations can be done through the Operations menu, allowing changes to check-in and checkout times, and contact information. These changes are instantly updated and accessible via the web and mobile app.

5. Share Access & Info with Guests
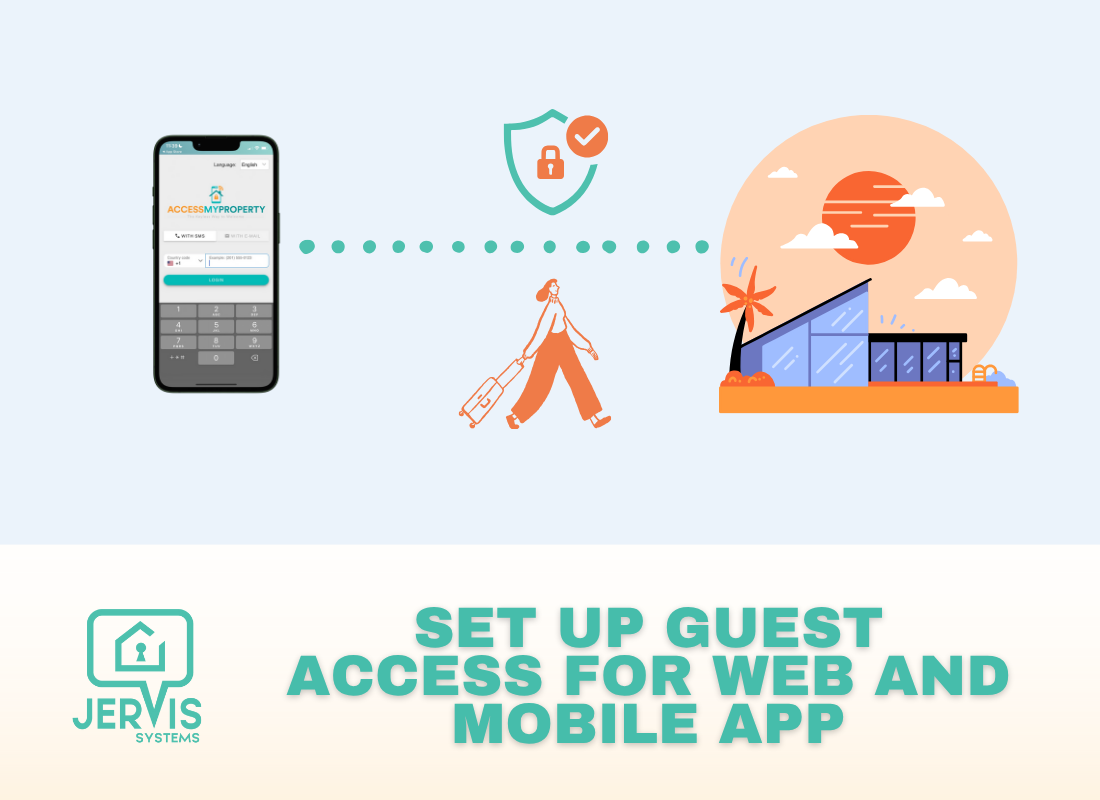
Jervis has both a web application and a mobile application (for iOS and Android). Our web application was designed to run in any browser or device type. We’ve heard from a lot of property managers that guests don’t typically want to download an app for a short term stay. This is our where our web app comes in play.

We support Spanish, French, German and Italian for our web app. But we also have our generic domain names, accessmyproperty.com and accessmyproperty.app as well. All of these will take you to the same place.
For the mobile app and web app, there are no usernames and passwords to remember. All they have to do use their phone number or email address that came through with their reservation.
You can always edit the reservation details to change their phone number or email address if they’re if they contact you and tell you they’re traveling with a different phone number or don’t have access to that phone and need to use their email.
For more info and templates you can use to share codes and the apps with guests, check out our guide here.
How to Request Support
To request support, navigate to the Support Request form in your Jervis Systems account, select the affected listing, device, and reservation, and submit your questions or comments.
This will trigger an automatic email to the support team, who will respond via the same thread. If the team needs credentials for troubleshooting or beta testing, make sure to enter the correct vendor credentials to avoid delays.

Alternatively, you can chat with the team with our chatbot at the corner of the screen, where AI may respond with FAQs or previous answers, or a human agent may assist if available. We ask that you allow 24 hours for a response while the team investigates any major issues.
RECENT POSTS
Jervis Smart Device Integration Status
March 27, 2026

Jervis Systems®: The Future of Property Automation
June 26, 2020



Top 4 Tips On Renting Your Private Property Long-Term
July 21, 2020
Categories
- Airbnb Mastery (1)
- Integrations (10)
- Jervis Systems Guides (142)
- Property Projects (1)
- Real Estate Tips (5)
- Rental Property Tips (10)
- Technology Solutions (10)